A few weeks ago I was in Asheville, North Carolina. Lots of walking, lots of journal pages, and lots of leaves. I drew leaves. I photographed leaves. But I wished that there was some way to actually get a leaf onto a page, the ones that I was collecting in my pocket as we walked; a tiny bit of the walk and the day. Last year I made walnut ink for the same reason. Sure, I can buy it, but making something out of the trail and the beauty to make other things of beauty after the autumn has passed, this is – I don’t know – a kind of contract that with nature.
It is possible to incorporate flowers and foliage into handmade paper with impressive results, but I don’t make paper, I only use it for book binding and other paper arts. However, after searching about a zillion journal sites online, I found something perfect. It’s called eco-printing. Silly name, great result.
There are several different methods of eco-printing, but so far this is the only one that I have tried.
- Choose the right paper. 130 gsm was much too flimsy and tore after soaking. Watercolor paper of 230 gsm is often reported in tutorials as being too heavy, but I found it to work ok. Ideally something in the middle is good, say 160-ish or 180-something. (I am going to try 200 later this week and will report.)
- Choose the right leaves. This is still trial and error for me. I have read that fresh leaves do not work well. As I arrived near the end of foliage season, that was not a problem. I just picked up whatever caught my eye as I walked until I had a small backpack full of different colors, shapes, and apparent ages.

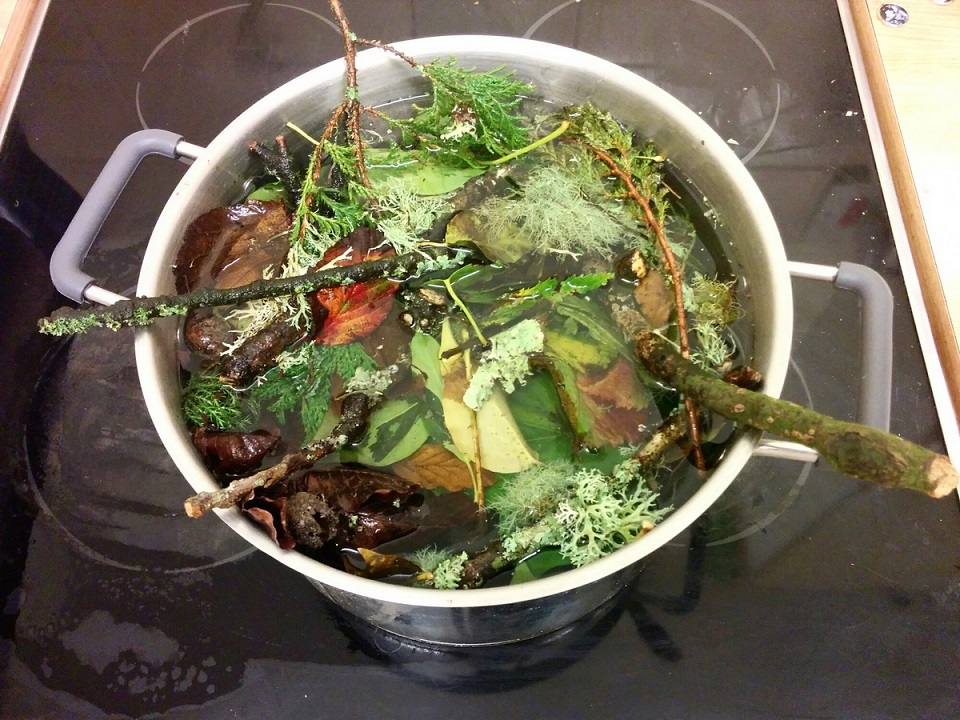
- Soak the papers, at least overnight, in water and mordant. I use alum. There are tutorials online that tell how to make a mordant with iron in the form of rusty nails, or vinegar, and whatnot, but I haven’t got that far yet. Also, soak leaves overnight separately (these are not cooking, just soaking in a stock pot).
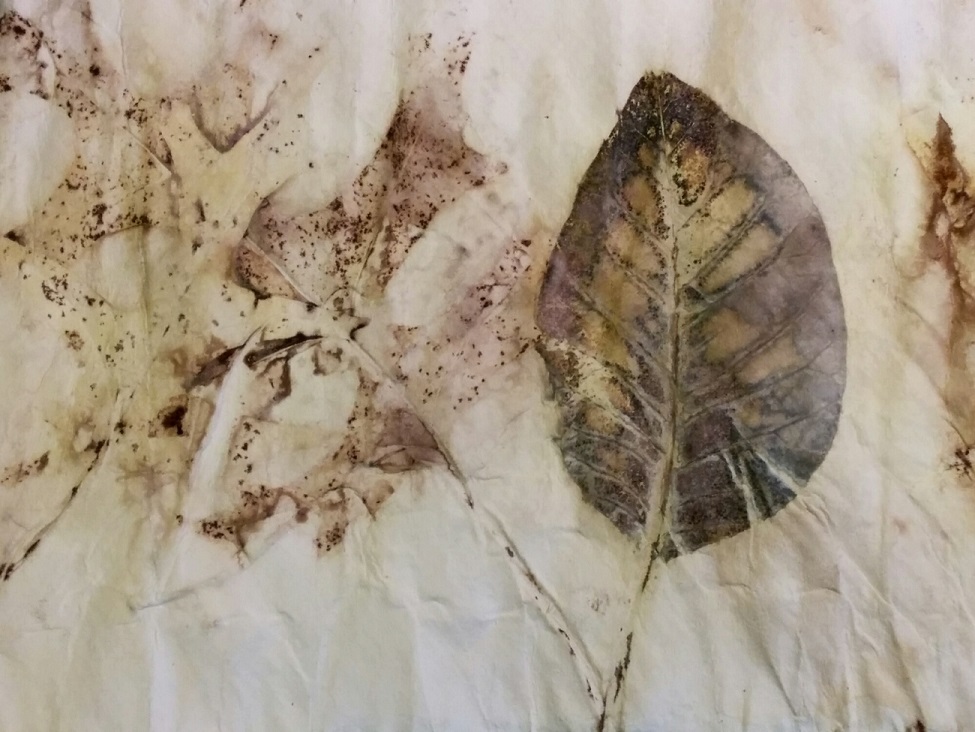
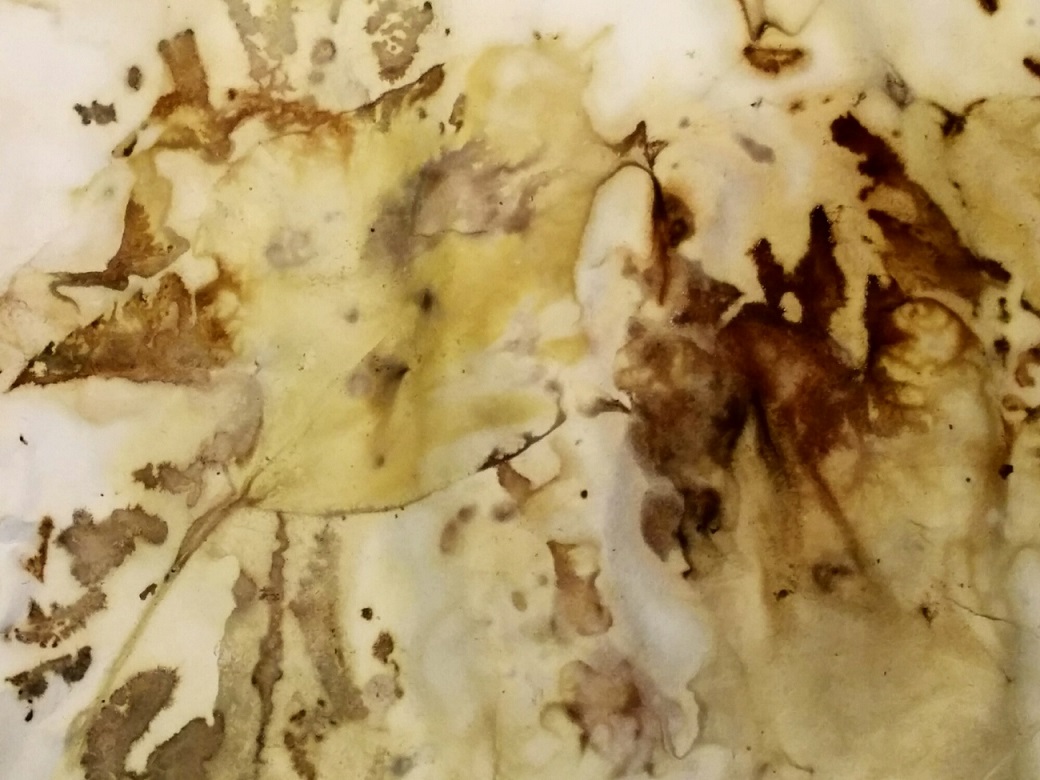
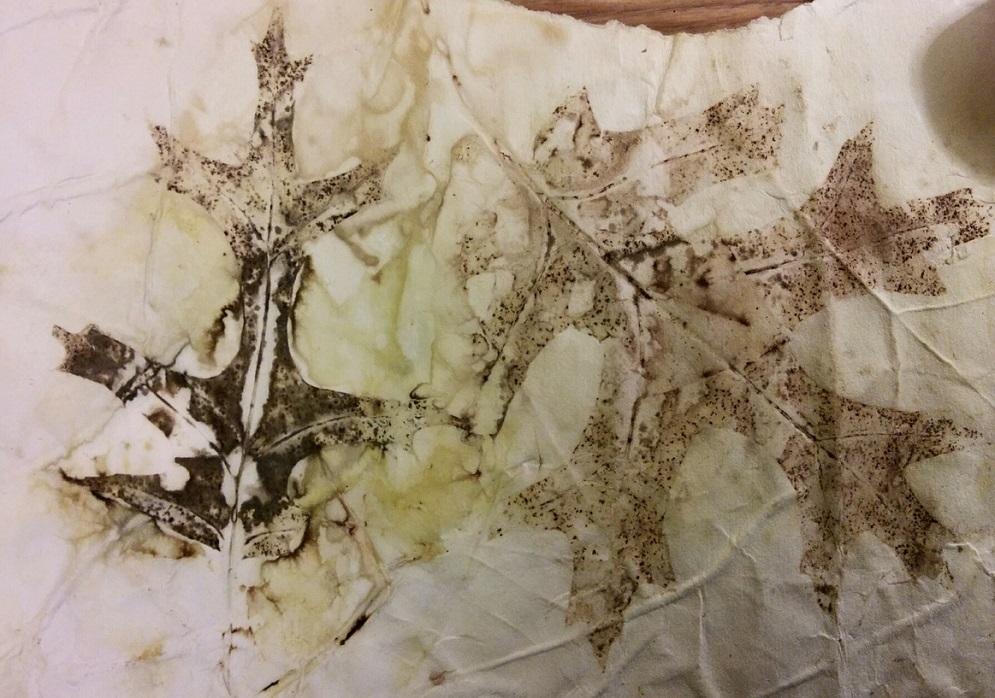
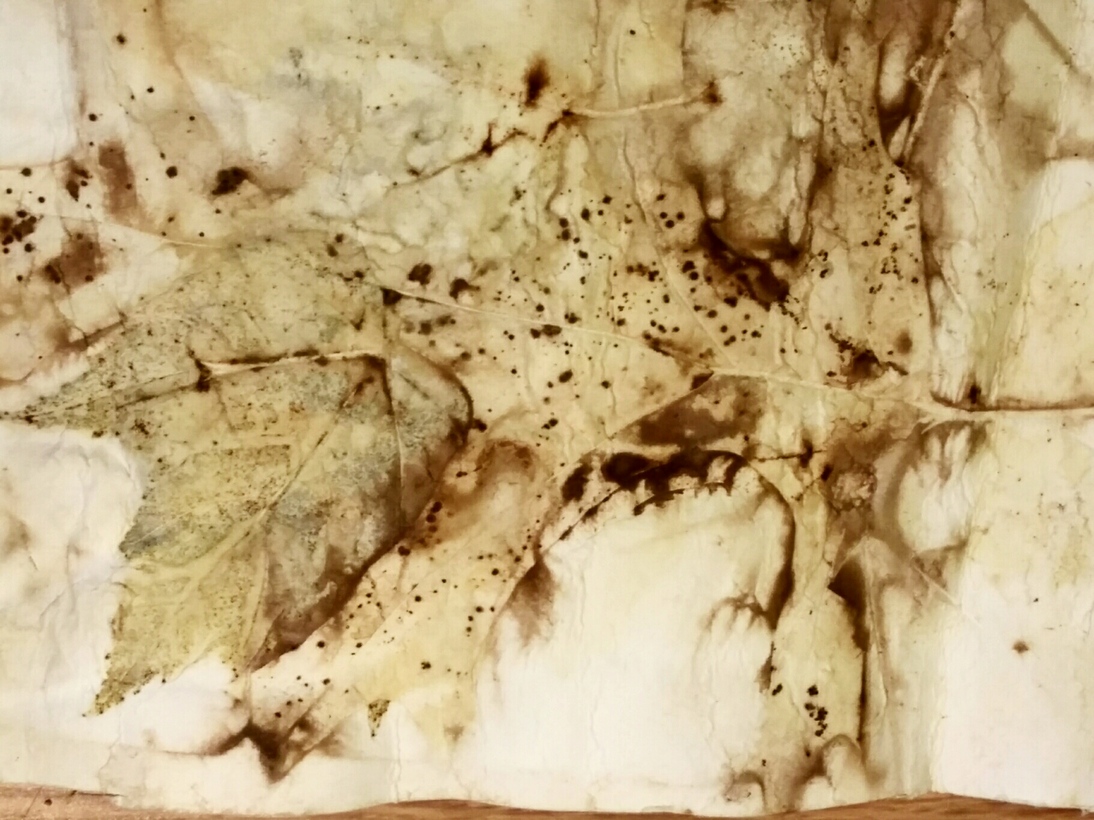
- Spread the leaves on sheets of paper. You can try something simple for a clear, isolated image, or just pile the things on. I did both. If you want to work with flat pages, you can find out how here with this excellent tutorial:
http://tondro.com/blog/category/leaf-monoprint-process/
I don’t have enough space to steam the pages flat, so I rolled my leaves and papers into bundles, then tied them with twine. Try to get the tightest roll you can.
- Place in a vegetable steamer and steam for as long as possible, at least two hours, adding more water as needed. The longer they steam, the better. (Where I live electricity is very, very expensive, so I cut it off at two hours and the result was not bad.) When you have finished steaming, allow the bundles to dry naturally. Overnight would be good.
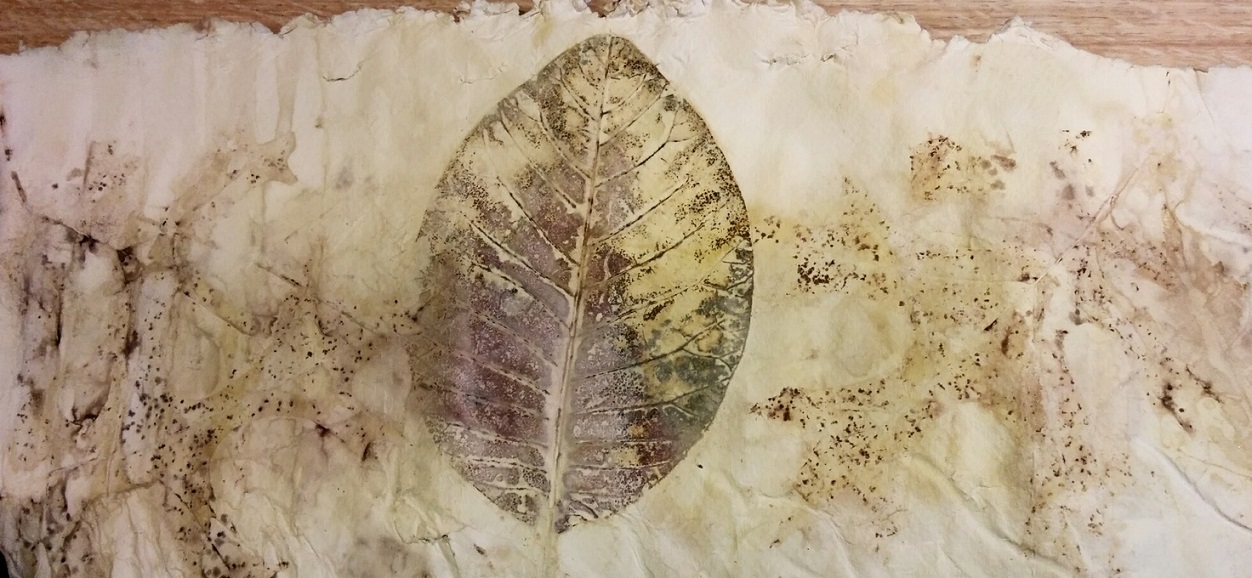
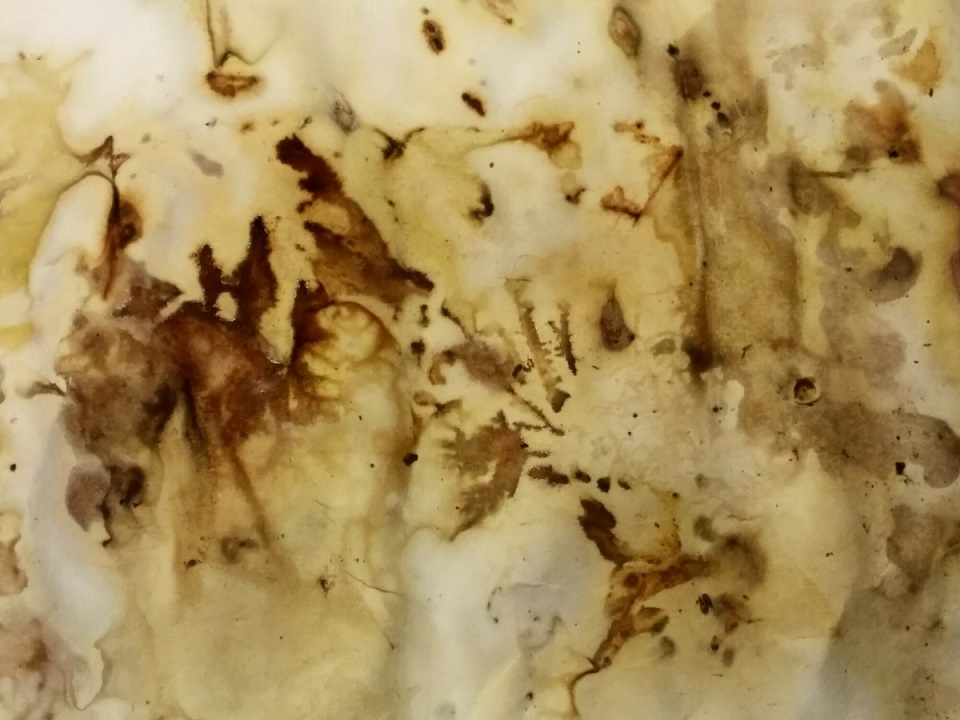
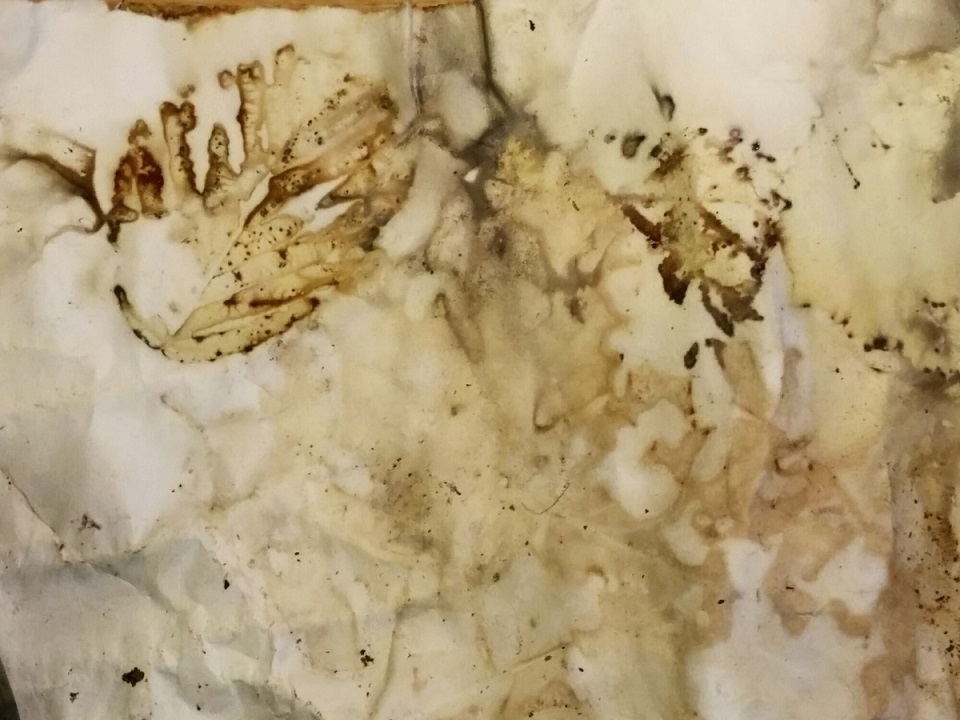
- Once you have a dry bundle, unroll carefully, and prepare to swoon.
Eco-printing can be used to gorgeous effect with fabric. Here is another site by Wendyfe with a bunch of helpful information and stunning images:
http://wendyfe.wordpress.com/2013/04/06/eco-print-fest/
And this goes to the site of India Flint, who is the go-to guru for eco dying and printing:
And here are more of my early experiments.

 Follow
Leave a Reply