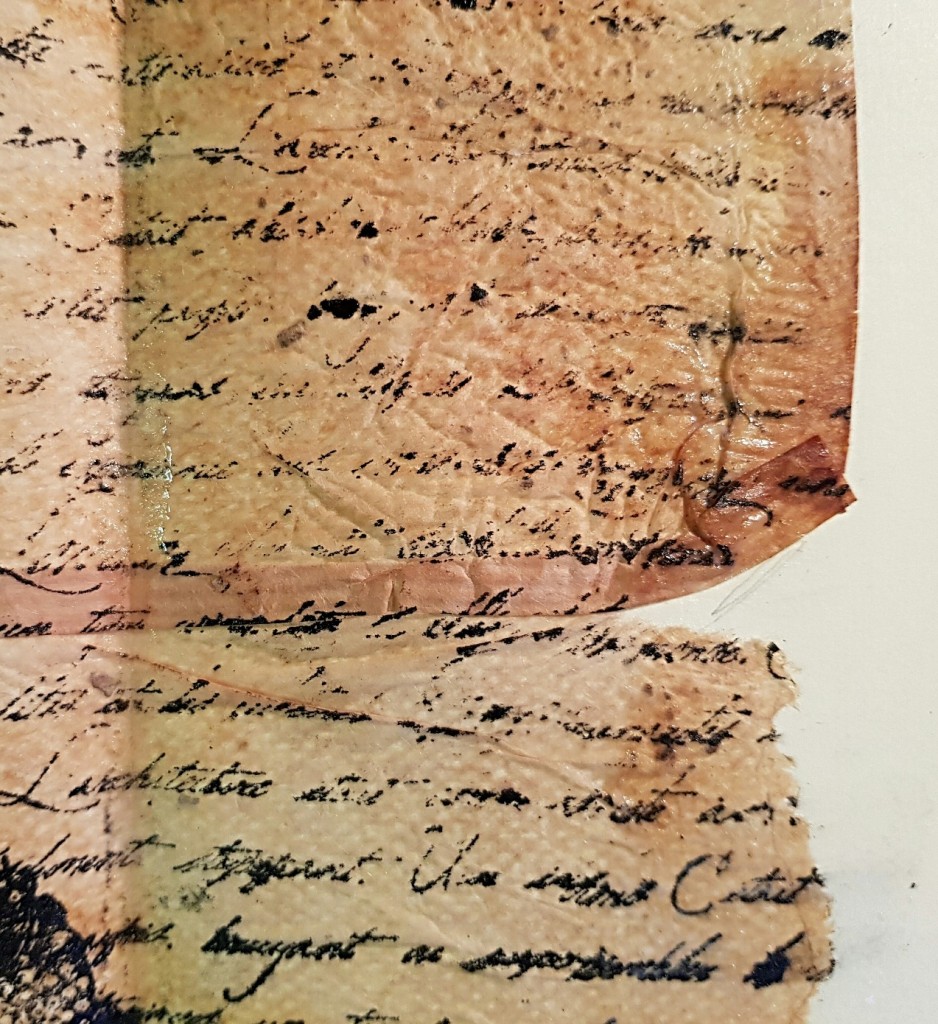
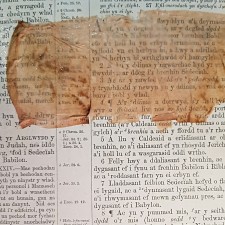
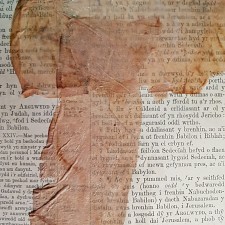
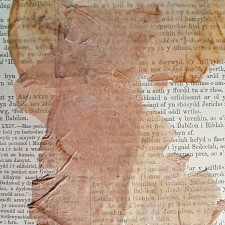
Boy do I love using old tea bags in art. There is something mysterious about the translucent layers they make. Added to paper or other substrate, they look like parchment or linen, while allowing any text or image underneath to show through. Here are some suggestions for using tea bags in your art, collage, scrapbook, or other mixed media projects.
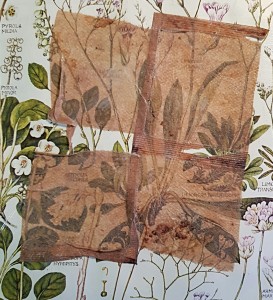
– Layering, layering, layering. Brush your glue medium of choice onto the tea bag and place it on the surface you are working with. Bunch it up here and there for added texture. You can then paint or print over that. Or not.
– Rubber stamps. You can get some dramatic effects that look like a tiny print on parchment that you then add to paper or board.
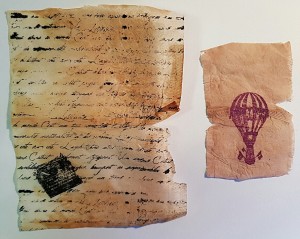
– Guess what doesn’t work. Stencils with ink from a spritzer or mister. What does work are stencils with ink pad. For this I used a Tim Holtz blending tool that you “load” with ink from a pad, then pounce over the stencil.
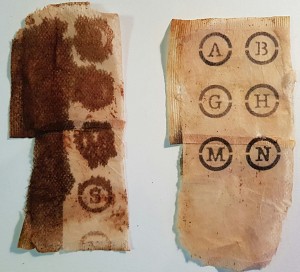
– Paint. I am not much of a painter but there are artists out there who turned the humble tea bag into a tiny canvas for portraits. Here I have used acrylics, both art quality (Golden) and cheap stuff I got for £3.00 a big tube ($4.50). The cheap stuff worked just fine. Watercolours tend to be too opaque.
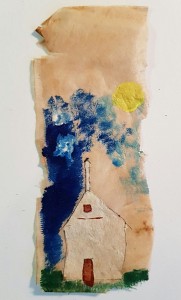
To see examples of gorgeous paintings on tea bags, check out the works of Ruby Silvious, Janet Reid, and Jeanne Marie Webb:
https://jsrart.wordpress.com/tag/tea-bag-art/
http://www.jeannemarieart.com/teabags/
– For pen and ink the bags will need to be coated, otherwise the tea bag is just too absorbent and ink will simply feather away. This chart shows bags treated with gesso, pva (plain old white craft glue), heavy acrylic medium (Golden), and clear gesso. Once they were dry, I tried artist pens (pigment ink pens – .03 width); fountain pen; coptic markers with alcohol ink; and pencil. You can see the results here:
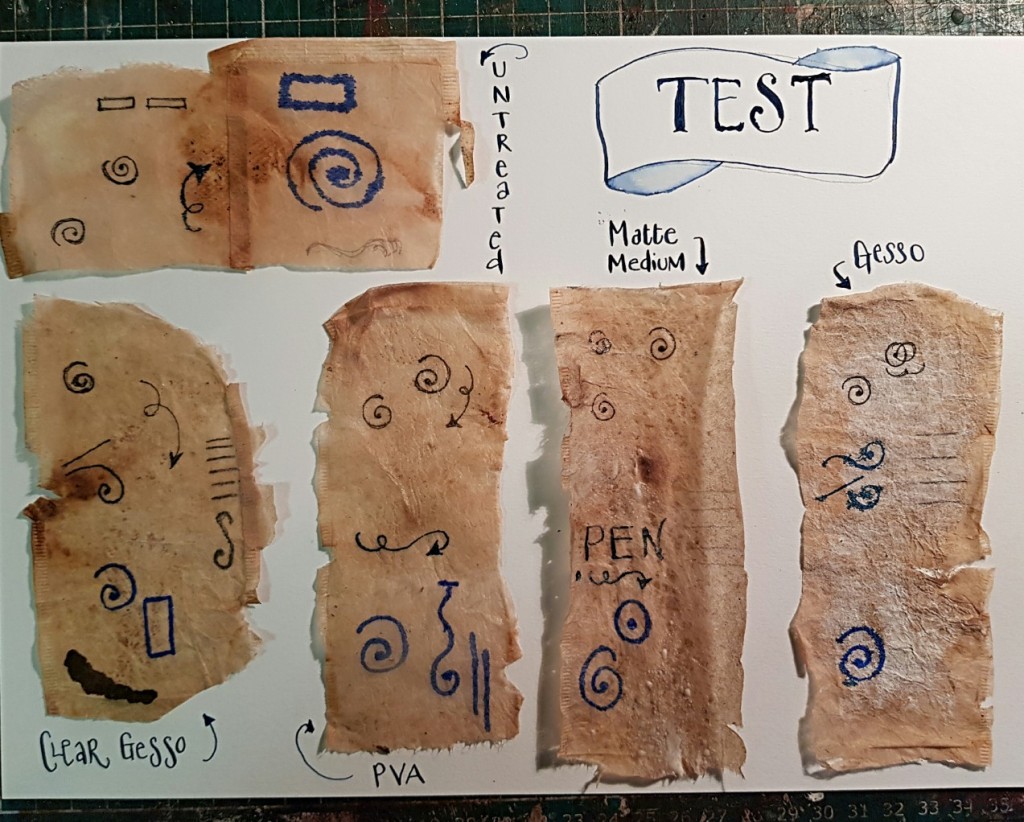
- The clear gesso was a clear winner for the fine tip art pens. It was also the only one of the surfaces that was any good for pencil. It did not work well with fountain pen as the “tooth” that gesso is used for in the first place made the nib skip.
- PVA did stop the feathering overall but it swallowed and faded the colour of the thin-tip artist pen and also the alcohol ink marker a little. It was very good with fountain pen and ink.
- The acrylic gel matte medium also faded the art pen ink and alcohol ink marker a little, but it worked very well with a fountain pen, with no feathering.
- I was not happy with the white gesso, as it left too much feathering with all inks. A second layer might make a difference.
Overall, the clear gesso gave the best resolution for colour by far, but the PVA was easiest gave the fountain pen nib more slip.
– Mark making. Below you can see how they are darker tea stains on the edge and throughout. To get the most irregular staining from the tea onto the tea bag, do not squeeze it out before drying. I take mine out in a bit of puddle and dry them in a shallow bowl in a warm place. As the puddle of tea evaporates it leaves stains and marks for a distressed look. You can also bake a bunch of puddly bags on a cookie sheet at a very, very low heat.
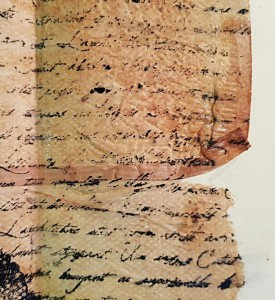
– I have also used tea bags in encaustic work.
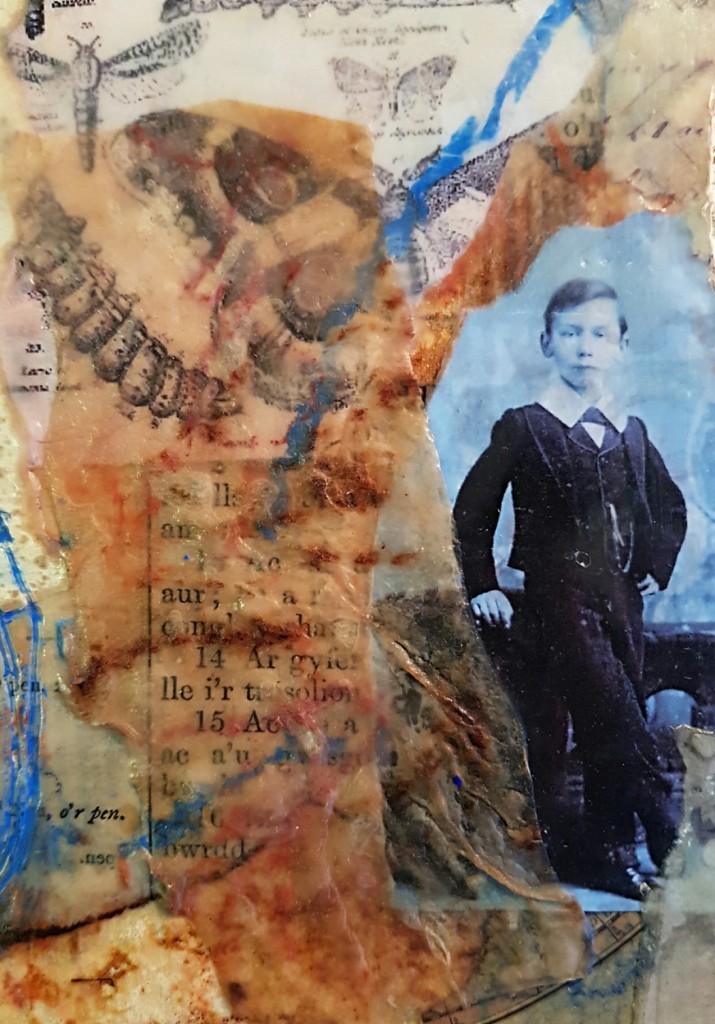
Finally, you can find so much inspiration for using tea bags in your work saved on my Pinterest page here:
https://www.pinterest.co.uk/BookAndPaperArts/tea-bag-art/

 Follow

September 2, 2024 at 4:31 am
Hi great info,I am new to your site. I am making teabag books can you use your cornstarch glue to prep tea bags instead of PVA mixture ?
September 5, 2024 at 12:46 pm
Hi Judith, you sure can. I am working on a tea bag cloth paper video as we type (almost) and I tested this – it works a treat. Happy making!
December 15, 2024 at 5:10 am
I would love your cornflour paste recipe. I’ve seen you use it in Youtube but I can’t find it again. Thank you in advance. I love what you are doing.
December 30, 2024 at 4:06 pm
Hi Libby, here it is! Happy making. Kelly
https://www.youtube.com/watch?v=hguEvBFZDyM&t=83s&ab_channel=BookandPaperArts