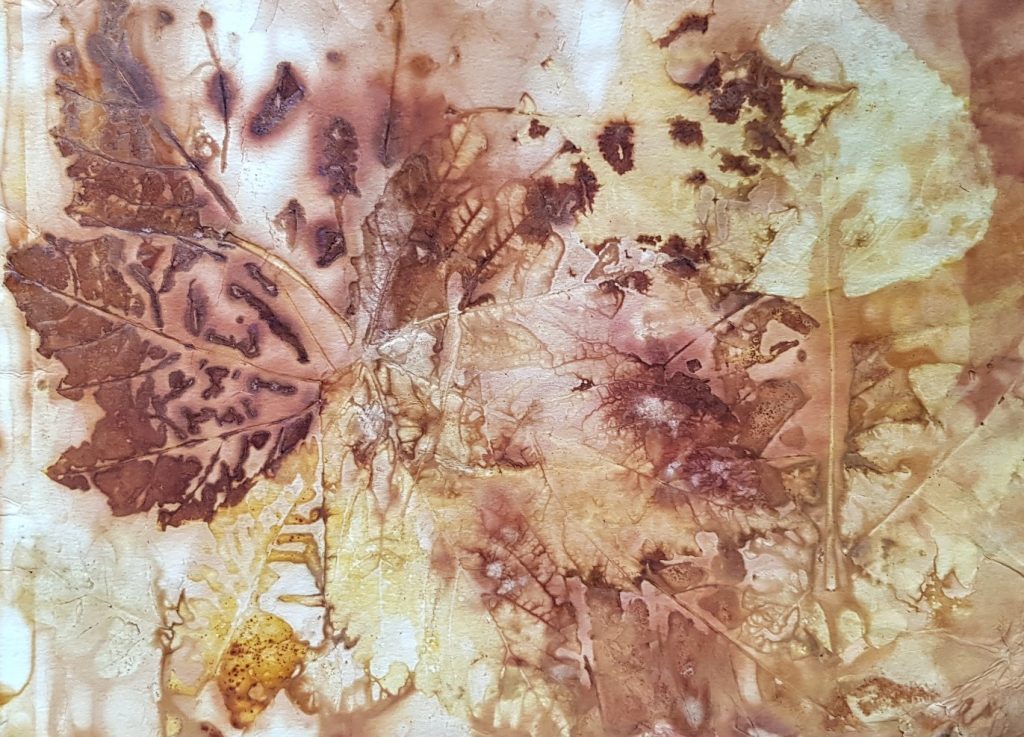
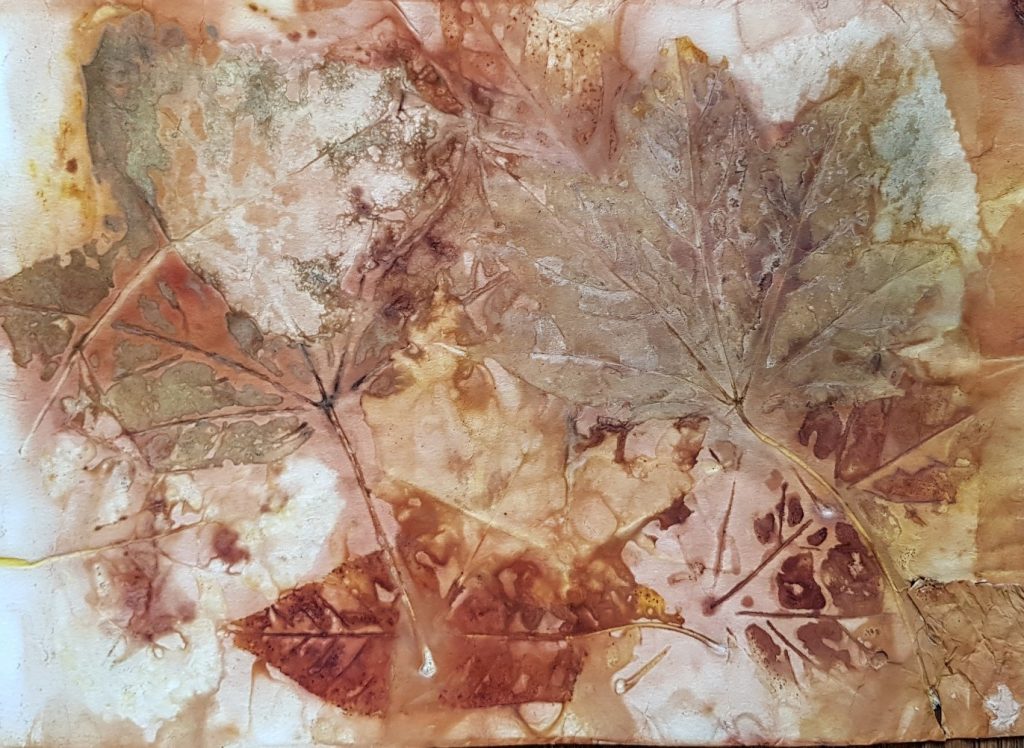
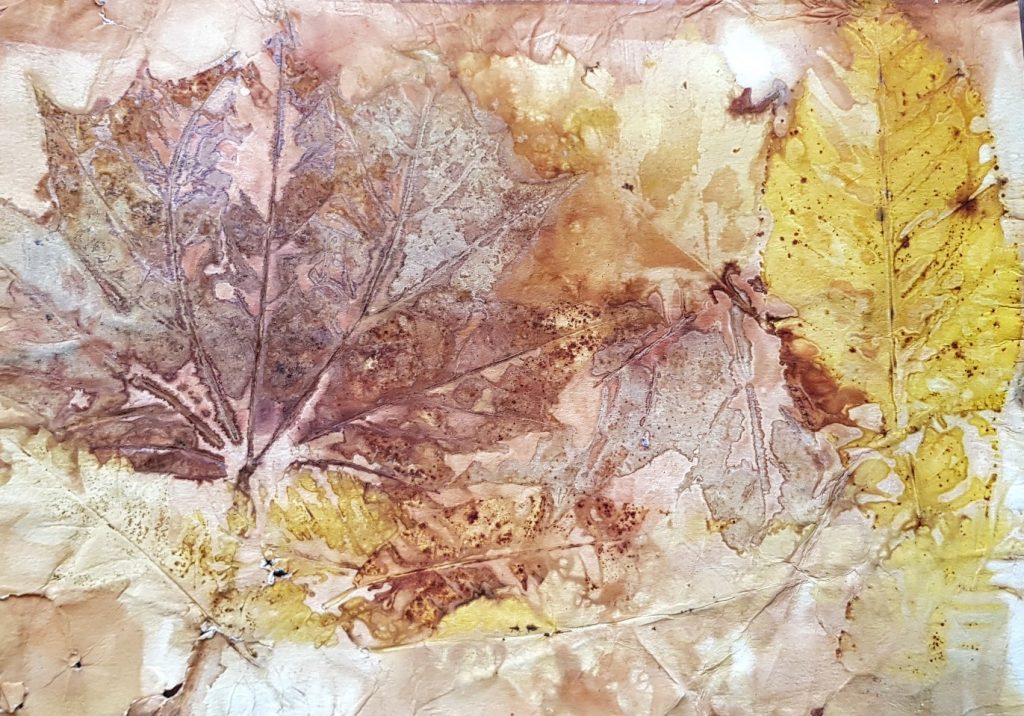
One of my favourite times of the year is autumn and one of my favourite ways to hold onto the beauty and mystery that the season holds is to make ecoprints, steaming leaves I have foraged on my hikes into paper that I then make into cards, framed prints, or book covers.
Dying with plants is an inexact science but I have been doing this one for years and here’s hoping that some of these pointers will steer you in the right direction with your attempts.
Choose a robust paper. Anything under 130 g/m is likely to tear when it is wet. I tend to use a watercolour paper that is 300 g/m. It makes for a sturdy substrate that will then be a nice weight for working into a project.
Choose your leaves! Not going to lie, this is a bit of an art, and the more batches of prints you make, the more you find from trial and error what really pops in your finished pages. I can tell you that I have the best results from leaves that had fallen from the tree – do not take them from the tree itself. The leaf should still be fresh, not too dry and have a quality that I can only describe as being ready to give up its colour. Collect a variety of shapes and colours.
Soak your papers overnight (or longer) in water and mordant. I use alum, but if you want something else, there are lots of ideas online. I use about two tablespoons per gallon. (Note, in the U.S. you can buy alum in the pickling supplies of the spice section in the grocery store. In the U.K., I have had to order mine online.) It is also a good idea to soak your leaves overnight in a water and mordant bath but I have cheated when I forgot and my results were usable.
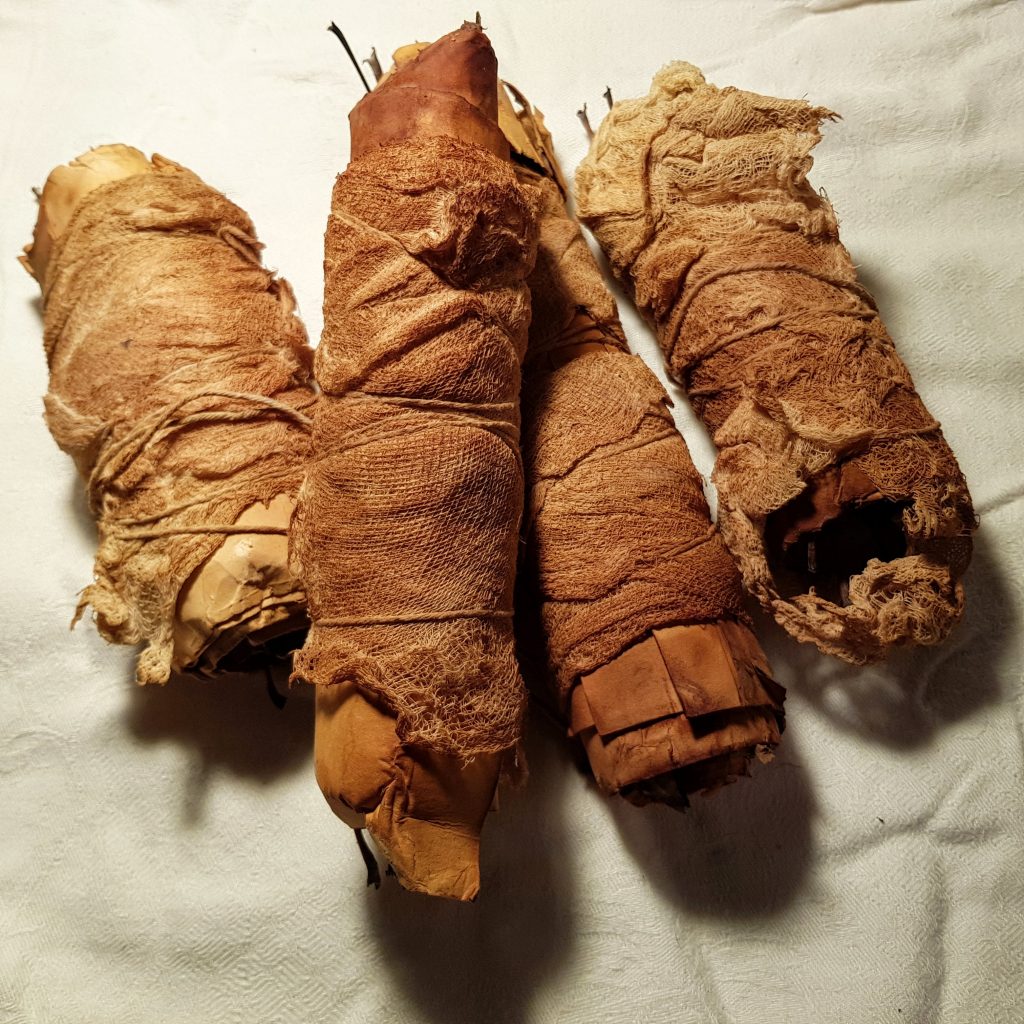
I don’t have a lot of space so I bundle several layers of leaves and papers at a time, rolling them up around a stick like you would a burrito or sushi roll (see video). Make the bundle tight and snug then bind with twine. Lately I have started using gauze around the outside of the bundle to hold it in place and to add some leaf colour to my gauze that I will then use in other projects. Place bundles in a big pot, add an inch of water, cover, and steam for at least four hours. Turn them from time to time for even steaming.
When finished, leave them tied until dry, or nearly dry. I actually place them on my radiator and turn during the day and they dry in one or two days. You can also try placing them in the oven with a very low heat, turning often. Or you know, just wait a day or two. Finally, unroll and compost your leftover leaves and make some good karma. Iron your prints flat.
Here’s a short video to give you an idea of what the process looks like.
Happy printing!


 Follow

Leave a Reply